

A redesigned version of the well-known impulse metal detector - "Pirate", but on Arduino. Has good sensitivity even for small coins. Stable regardless of temperature and battery charge. The scheme of Pulse Metal Detector based Arduino is simplified as much as possible.
Among the shortcomings, one can note the lack of the ability to determine the type of metal. The type can only be determined by metal detectors with a radio emitting detection principle (they are complex in the device and require precise adjustment). The impulse metal detector, in turn, operates on the magnetic detection of induction currents in the metal. Search induction is indistinguishable for ferrous and non-ferrous metals.
By the way, there is also a third type of metal detector - frequency. An ineffective and very simple design based on a generator of oscillations of a magnetic circuit, which is sensitive to changes in the magnitude of the induction of the coil. We will not consider it due to its low sensitivity. Personal experiments in the development of such a design, at best, allowed detecting a frying pan 20 cm deep. I reacted to coins only at point-blank range. Practically useless thing. Therefore, he immediately refused it.
Our pulse metal detector circuit has several main components in it. Arduino generates pulses, they are amplified by a field-effect transistor (power switch), which in turn induces pulses of a magnetic field in the coil. The magnetic pulse travels to the desired metal and induces a current in it, and then a return signal of the magnetic field. This reverse magnetic flux, after a short delay, returns back to the coil of the metal detector and generates a pulse. The signal passes by a pair of diodes (diodes are needed to limit the voltage to 1 volt) and goes to the input of the operational amplifier. The amplified signal enters the arduino in which the "falling tail" is calculated after the coil is disconnected with the power switch. Those. just the answer from the desired metal object. Depending on the decay time, we can judge the size or distance of the object. The indicator shows this value in 8 levels of indicators.
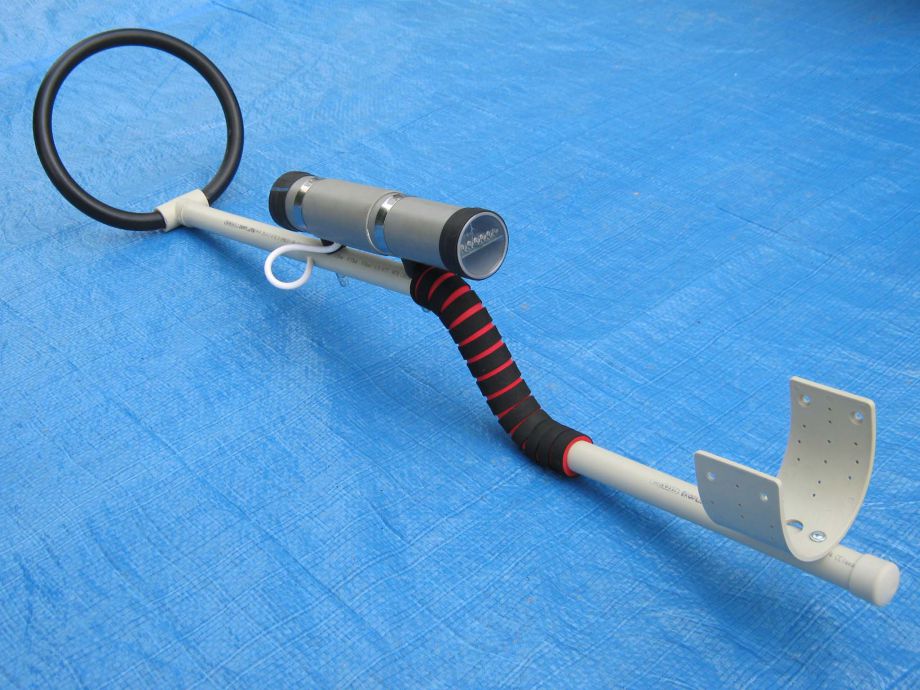
Speaking of the coil. It should be 20 cm in diameter with 20 turns of wire 0.4 - 0.8 mm. The thickness of the wire also affects the induction of the entire coil. A large deviation from the wire thickness will lead to a deterioration in the sensitivity of the device. The coil is inserted into a PVC water pipe and does not have any additional metal connections.

The pulse metal detector based arduino program sketch contains a pulse generator and an algorithm for processing the incoming signal from the amplifier.
|


Reference : diytimes


![[Arduino FreeRTOS tutorial] How to use semaphore and mutex](https://blogger.googleusercontent.com/img/a/AVvXsEjv4nInC0gGae_exqVbGJ3vHTe70Mt_3Tc2OTotIjgVpf3BPNJnmGYrvEYBxF3gUiDNfJl5IHSd-2ShuRFe7cR5AtsimzD6NZtmfCz-NNV1rLmvK3mw1yGjlMYCthIAOm3lz_vY7CTygjfPdmdR6fWtLJomA46NJOD8HGVMzLPK2mF9I9eE3VsJbQI=w72-h72-p-k-no-nu)


No comments:
Comments