
Arduino has a powerful support library and expansion board, using it to develop some electronic production will be much simpler than single-chip microcomputer .
Take the 4-axis robotic arm we are going to introduce next. If you use 51 single-chip microcomputer to realize it, you not only need to operate the IO of the single-chip microcomputer
It is also necessary to configure the timer to generate PWM. The timer configuration is more complicated. With Arduino, you only need to operate the IO.
Leave the rest to the support library.
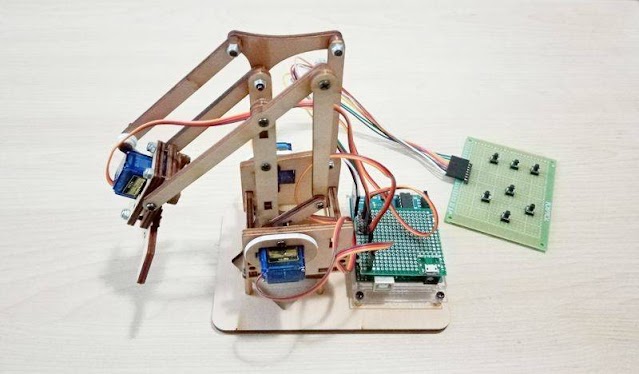
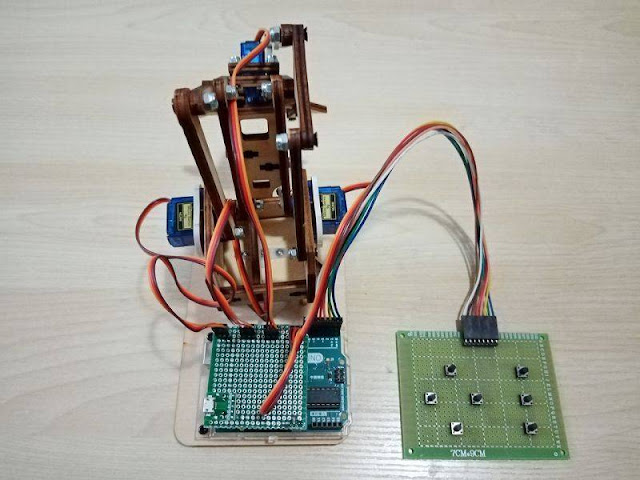
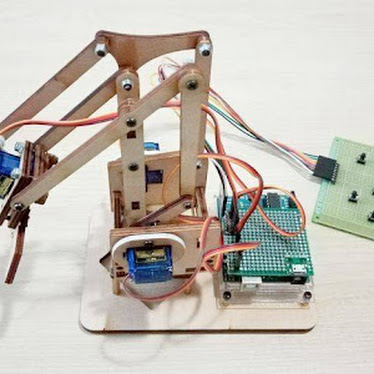
The robot arm to be introduced next has a total of four axes using four servos to control up and down, left and right, front and rear, and grasping actions respectively.
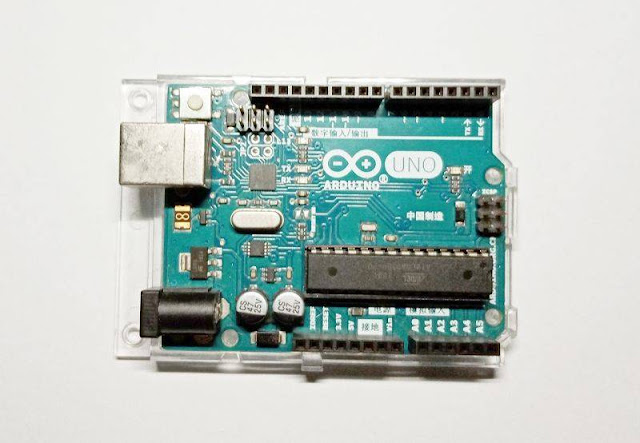
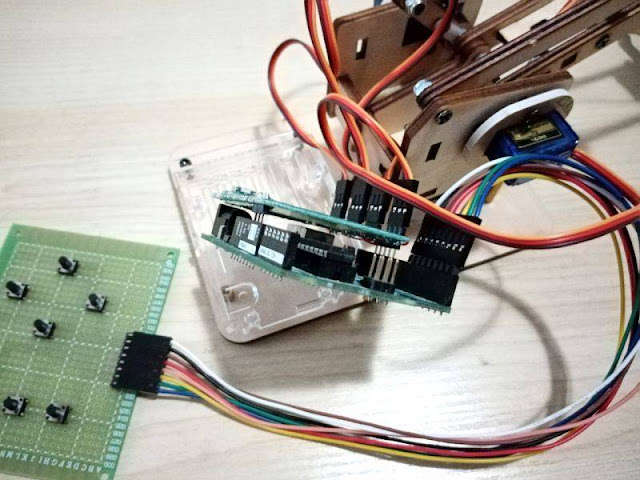
The main board uses Arduino UNO R3, and the expansion board and key board are soldered by themselves. The model of the steering gear is SG90,
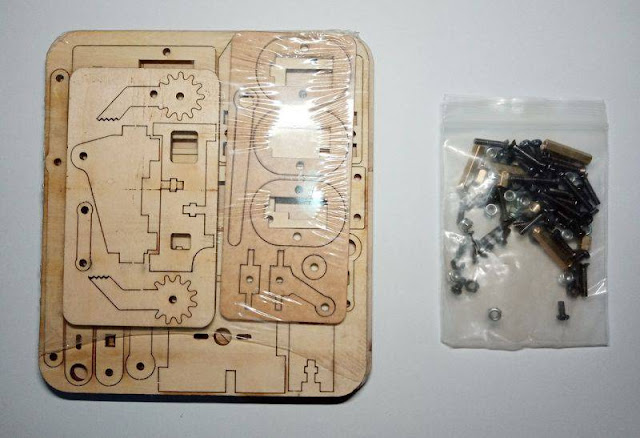
The mechanical arm components are wooden splicing boards.
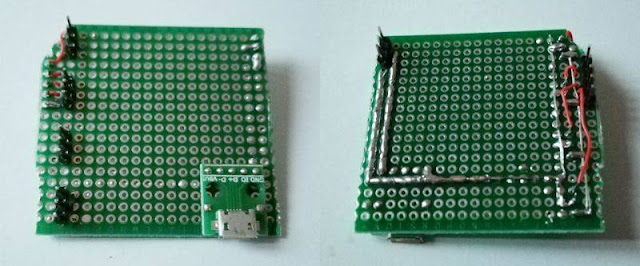
A USB socket adapter board is welded on the expansion board, it is used for power supply, because it directly uses the Arduino board USB power supply may not be able to carry four servos. There are four three-pin sockets on the left of the picture, which are used to connect four servos.
From top to bottom, the servos that control the front and back, grasp, left and right, up and down movements are connected in sequence.

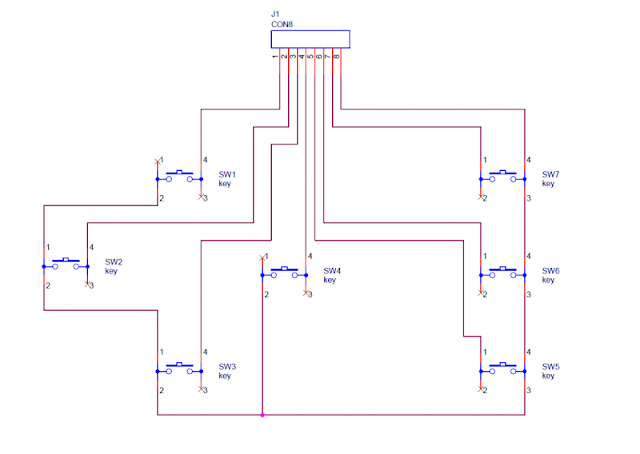
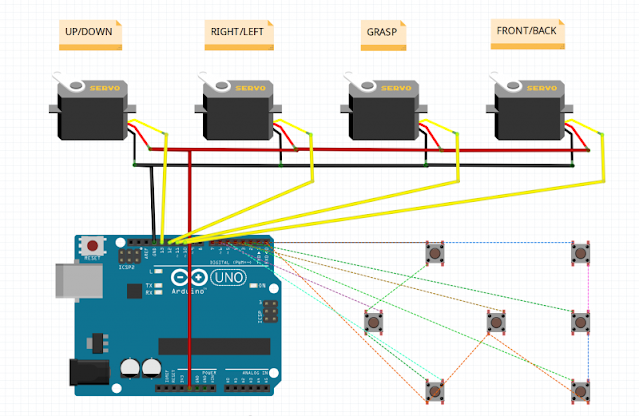
The schematic diagram of the circuit above was drawn using Fritzing. The thick yellow wire is the steering gear control wire, the thick red wire is the 5V power supply, and the thick black wire is the ground.
Download Files:
https://www.mediafire.com/file/umen4dk7eezzkv8/Armbot_Calibration.zip/file


![[Arduino FreeRTOS tutorial] How to use semaphore and mutex](https://blogger.googleusercontent.com/img/a/AVvXsEjv4nInC0gGae_exqVbGJ3vHTe70Mt_3Tc2OTotIjgVpf3BPNJnmGYrvEYBxF3gUiDNfJl5IHSd-2ShuRFe7cR5AtsimzD6NZtmfCz-NNV1rLmvK3mw1yGjlMYCthIAOm3lz_vY7CTygjfPdmdR6fWtLJomA46NJOD8HGVMzLPK2mF9I9eE3VsJbQI=w72-h72-p-k-no-nu)


No comments:
Comments