
On used cars, you can often feel a beating or vibration when you press the brake pedal. The reason for this lies in the crust of rust on the brake discs. Its presence makes braking less effective, moreover, it is accompanied by a characteristic grinding sound. This problem is solved by grinding discs, which is very easy to do on a homemade machine. Such a machine can be welded in your garage or workshop in just 2 hours.

Materials:
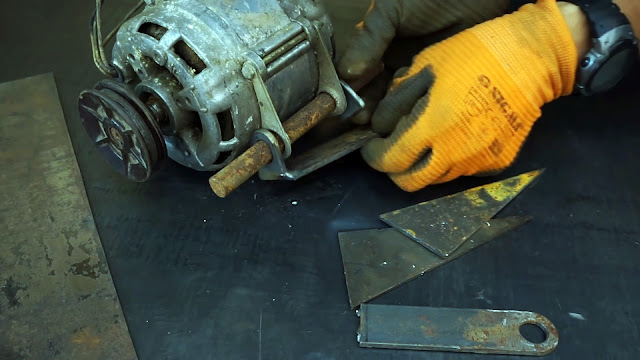
- Washing machine engine;
- sheet steel 3 mm;
- corner 20x20 mm;
- wheel hub;
- drive belt;
- valve spring;
- pipe 25-32 mm.


Brake Disc Grinder Manufacturing Process
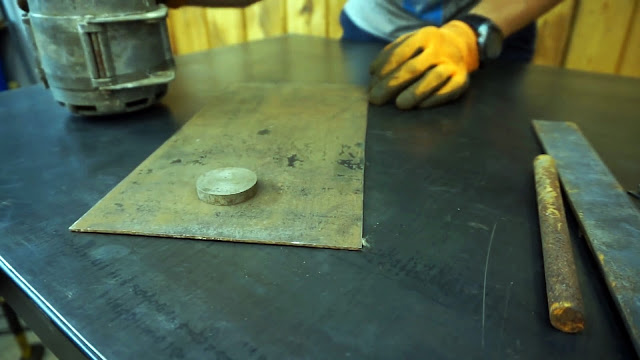
A plate must be cut out of sheet steel, which will serve as the sole of the machine. Its dimensions are individual, as they depend on the diameter of the disc and the available drive belt. It is necessary that there is enough space to fix the engine and the hub on the sole, at the same time so that the disc to be ground does not come into contact with the motor pulley.
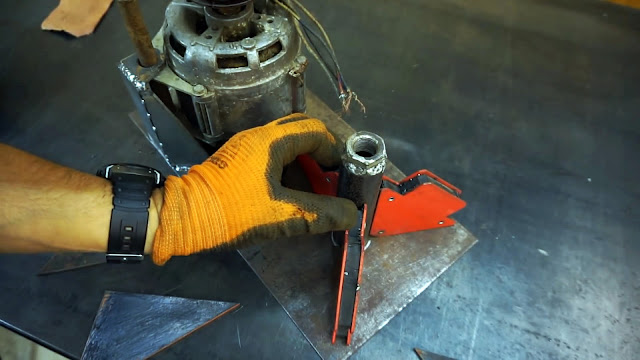
A steel bar of a suitable diameter is inserted into the standard mount of the washing machine engine. Then 2 lugs and a jumper are cut out of sheet steel or strip, from which the fastening bracket is welded.
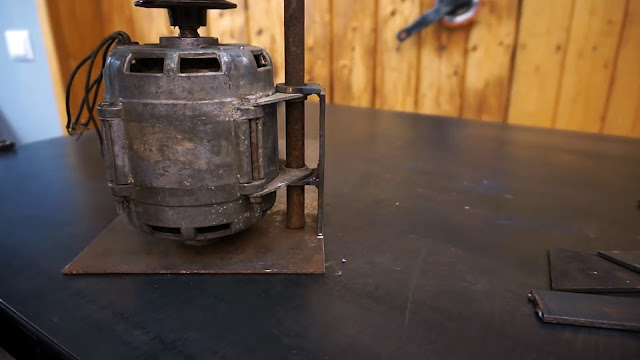
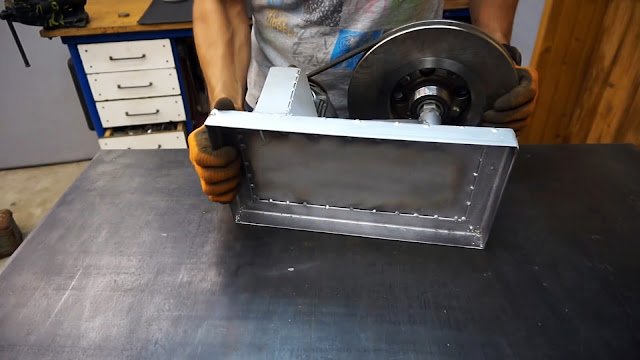
The engine must be installed vertically with the shaft upwards on the sole, substituting something from below to create a gap of 10-20 mm to it. Then the bracket is welded to the bottom of the plate. So that it does not bend, you should cook the kerchief for rigidity.
On the side of the sole, it is necessary to weld the stand to install the hub. To do this, you can use a wheel alignment clutch. There are grooves on it, which allows you to clamp the hub. The coupling nut is welded to the tube to lengthen the structure.


Next, you need to calculate the height at which the hub will be located relative to the pulley on the electric motor shaft. It should be lower so that the disc attached to it is flush with the pulley. The tube is welded vertically to the sole. To prevent her from vomiting, the connection is strengthened with kerchiefs.
A valve spring is inserted between the engine and its mount. So that it does not fall out, it can be welded. The hub is screwed on the side.

Now you need to connect the cable with a plug to the electric motor. If there are 4 wiring, then you can use the trial method to find a combination of two of them, in which it starts. Nothing bad will happen, you can safely screw the cable with the plug and insert it into the outlet. If the engine does not start, then you need to connect to another pair of wires. Excess wiring is insulated.
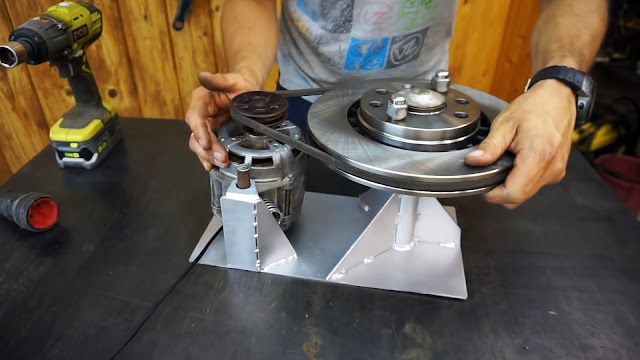
The brake disc is clamped onto the hub. A drive belt is pulled between it and the motor pulley. If it's too short, the spring resistance can bend the thin steel sole. To prevent this from happening, it may need to be strengthened by welding the corners from below.
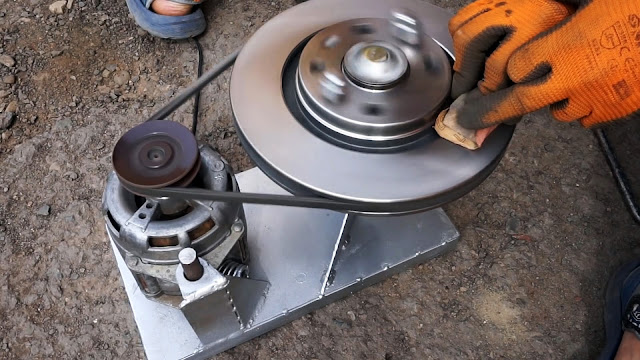
With a disk load, the motor does not start, it needs to be pushed slightly. Then, after acceleration, the surface of the brake disc is sanded. First, coarse sandpaper P80 is used, and then the grit is reduced to P320. The result is a smooth, scratch-free disc that slows down smoothly and quietly.
Watch the video
Original post


![[Arduino FreeRTOS tutorial] How to use semaphore and mutex](https://blogger.googleusercontent.com/img/a/AVvXsEjv4nInC0gGae_exqVbGJ3vHTe70Mt_3Tc2OTotIjgVpf3BPNJnmGYrvEYBxF3gUiDNfJl5IHSd-2ShuRFe7cR5AtsimzD6NZtmfCz-NNV1rLmvK3mw1yGjlMYCthIAOm3lz_vY7CTygjfPdmdR6fWtLJomA46NJOD8HGVMzLPK2mF9I9eE3VsJbQI=w72-h72-p-k-no-nu)


No comments:
Comments