
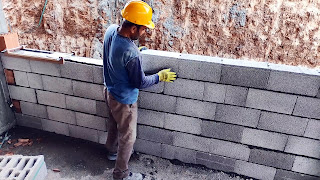
When laying blocks, it takes a lot of time to apply and level the mortar. If you put a little of it, then you will have to remove the block and add, but if there is a lot, then you will need to knock with a mallet. If you use this homemade template, then such problems will disappear by themselves.
Materials:
- Bar 40x40 mm;
- rail 10x50 mm;
- wood screws;
- threaded rod M8;
- nuts М8 - 8 pcs.
The process of making and applying a masonry template
The template is 2 bars. Their length is equal to two blocks, which are used for laying. At the edges, trim pieces of a bar are screwed onto them, and drilled across to make eyelets for the studs.
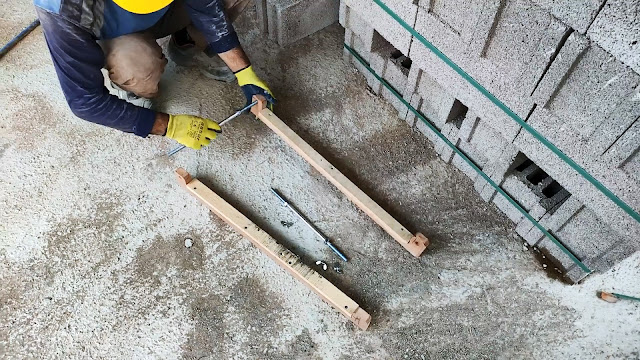
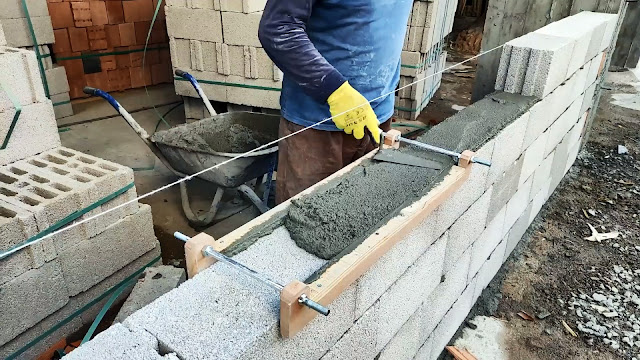
Rails are screwed onto the bars between the lugs. They are slightly wider. The bars connected by pins are pressed against the masonry from the sides, and the lath protrusions lie on top. The width of the template is fixed on the studs with nuts.

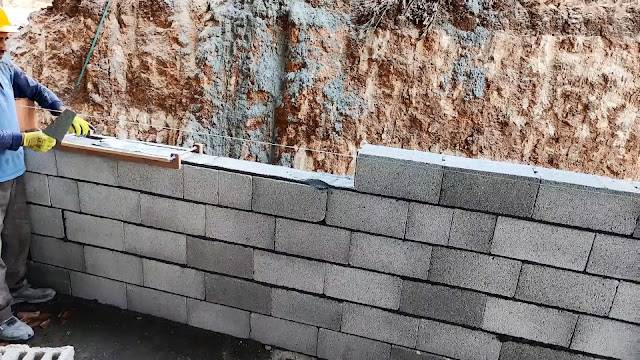
The first row of blocks is laid along the cord. The template is then fitted to fit and placed on top. A solution is poured over it and leveled. Its height is exactly 10 mm. If you need more, then a thicker rail is used on the bar.


![[Arduino FreeRTOS tutorial] How to use semaphore and mutex](https://blogger.googleusercontent.com/img/a/AVvXsEjv4nInC0gGae_exqVbGJ3vHTe70Mt_3Tc2OTotIjgVpf3BPNJnmGYrvEYBxF3gUiDNfJl5IHSd-2ShuRFe7cR5AtsimzD6NZtmfCz-NNV1rLmvK3mw1yGjlMYCthIAOm3lz_vY7CTygjfPdmdR6fWtLJomA46NJOD8HGVMzLPK2mF9I9eE3VsJbQI=w72-h72-p-k-no-nu)


No comments:
Comments